Wall Art

Materials You’ll Need:
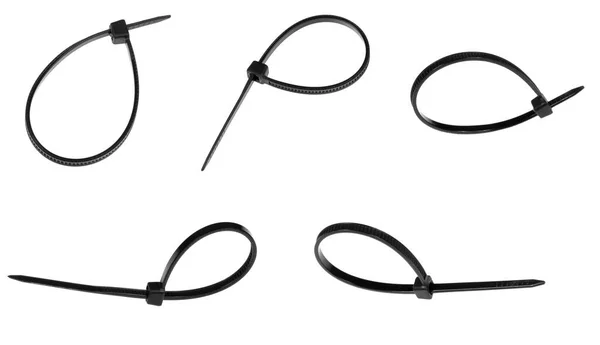
- Medium to large cable ties (black or colorful, depending on your aesthetic)
- Scissors or small wire cutters
- Wooden frame, metal grid, or sturdy cardboard base (for structure)
- Command hooks, nails, or adhesive strips (for mounting)
- Mini clothespins or paper clips (for attaching photos)
- Optional: LED fairy lights, spray paint, or decorative beads for extra flair
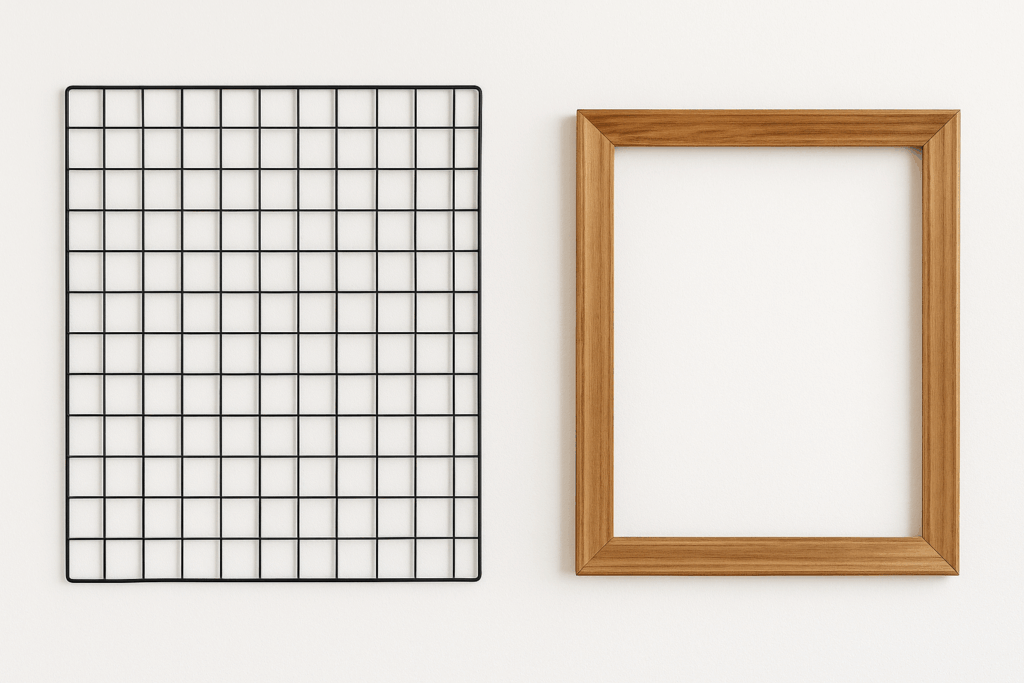
- Step 1: Choose a Base
- Decide how you want your wall décor to look — square, rectangular, circular, or even abstract.
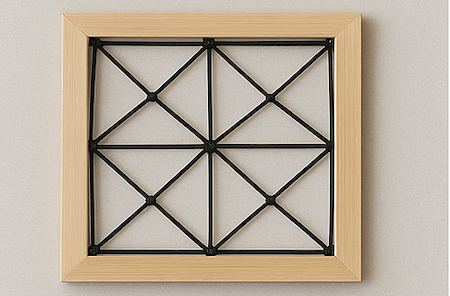
- A metal grid panel works great if you want a clean, industrial look.
- A wooden frame (like from an old picture frame) gives a rustic or minimalist vibe.
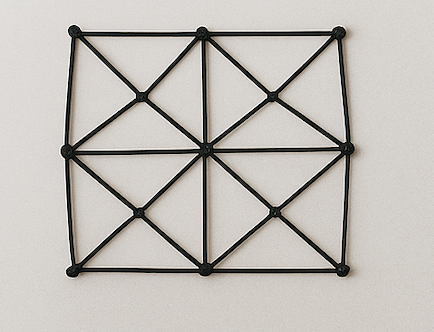
- Step 2: Create the Cable Tie Design
- Start weaving or linking the cable ties to form a pattern:
- Geometric: Connect cable ties in triangles or hexagons.
- Grid: Arrange them horizontally and vertically for a woven net.
- Radiant: Start from the center and fan them outward like a sunburst.
- Tighten each tie just enough to hold, but not so tight that they warp or bend too sharply.
- Step 3: Trim and Tidy
- Once your pattern is complete, trim off the excess ends of each cable tie with scissors or cutters.
- If you want a cleaner look, you can face all the locking heads toward the back or align them uniformly.
- Step 4: Add Mounting Hooks
- Attach command hooks or small nails to the back of your frame or directly to the wall.
- If using a light material like cardboard, adhesive strips are perfect.
- Ensure it’s stable enough to hold the weight of the ties and photos.
- Step 5: Attach Photos or Keepsakes
- Use mini clothespins, paper clips, or even more cable ties to hang your photos from the grid.
You can also attach:- Postcards
- Dried flowers
- Polaroids
- Inspirational quotes or notes
- Use mini clothespins, paper clips, or even more cable ties to hang your photos from the grid.

- Step 6: (Optional) Add Lighting or Decoration
- Wrap fairy lights or LED strips around your frame to highlight your photos.
- You can also spray-paint the cable ties in metallic or pastel colors for a softer aesthetic.
- Step 7: Hang and Enjoy!
- Mount your new décor on the wall.
- Stand back and admire your one-of-a-kind creation — a perfect blend of industrial and personal design!
Tips:
- Mixing different cable tie colors adds contrast and style.
- Use transparent or white cable ties for a minimalist look.
- For a 3D effect, layer multiple grids slightly apart.
ZipTiesdotCom
Strong. Simple. Versatile.
Leave a Reply